
Reviewed · PICO TOURS
Pico Mountain Climb: Portugal’s Highest Point – 2351 meters
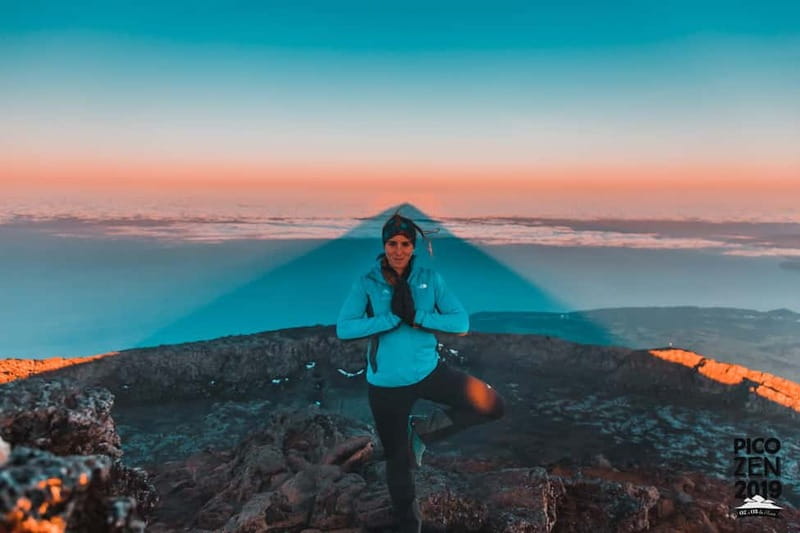
Pico Mountain is interesting because you’re not just walking up a hill. You’re climbing toward Portugal’s highest point, 2351 meters, with volcanic scenery and that moment when the crater starts to feel real under your feet. In good weather, it turns into one of those life-list hikes that makes your body work and your brain go quiet for a while.
What I really like is how much the day is guided without feeling over-managed. The professional guides (I’ve heard names like Isabel, Raisa, Pedro, and Nuno) keep everyone moving safely, and they help you nail the tricky parts you might otherwise rush. I also love the panoramic views and crater experience, including a rest near the volcano crater and time on the lava cone with permanent fumaroles.
One consideration: the climb may feel “doable” for many people, but the steep descent on volcanic rock is the harder part. If you have low fitness, back problems, or knee or leg issues, you should think carefully before signing up.
Key highlights I’d plan around
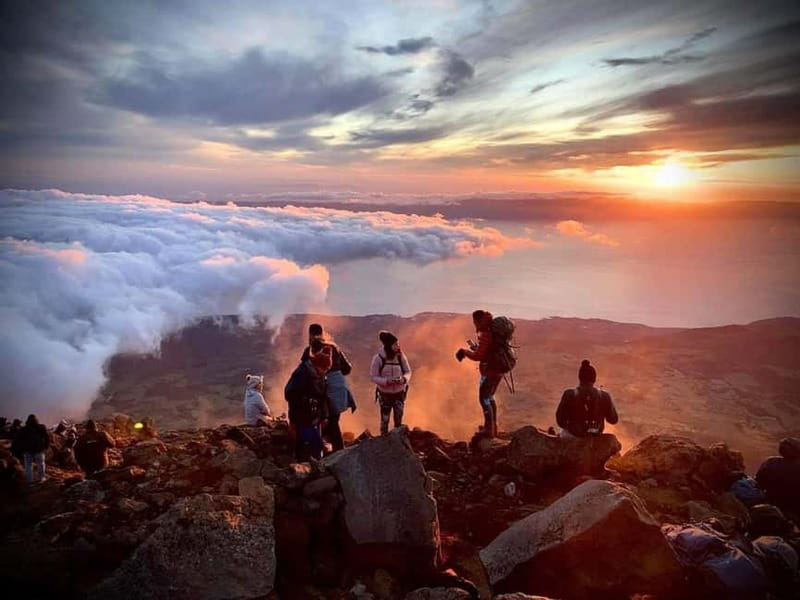
- 2351 meters to the summit of Pico (Piquinho), the highest point in Portugal
- Volcano crater + lava cone with permanent fumaroles, a very different type of “top”
- 8 km trail with an average 30% slope, and the terrain gets steeper near the finish
- Pro guides plus walking sticks provided, so you don’t have to figure it out alone
- Photo and video coverage, plus a coffee stop at the top area
- Descent is steeper and can get foggy, so following your guide matters
Why Pico (Piquinho) feels like a true Azores achievement
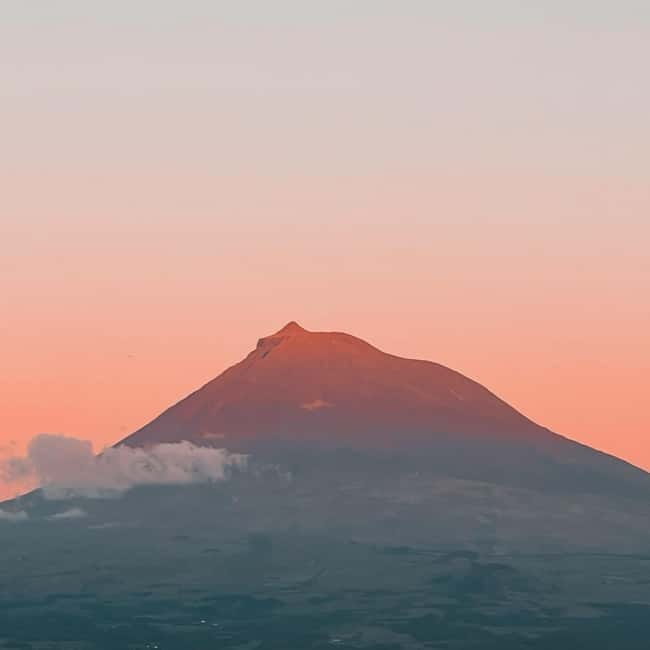
Pico Mountain sits in the Azores like a loud exclamation mark written in rock. You feel it in the way the trail shifts underfoot, and you feel it more when the crater comes into view and you realize you’re working your way into a real volcanic world.
This hike is built for the kind of traveler who likes both effort and reward. You’re climbing to a clear, specific goal, and you get that honest payoff at altitude. And because it’s guided, you get a smoother path than wandering off on your own when the terrain turns uneven.
What also makes it special is the sequence of “small wins.” You’re not just pushing upward for hours. You’ll get short breaks, photo stops, and a plan that lets you regroup. Then, near the top, you rest in the volcano crater area before going up to the summit’s lava cone.
More time on Pico:
- Pico Island: Whale Watching Experience from Lajes do Pico
★ 4.9 · 723 reviews - Pico Island: Azores Whale & Dolphin Watching on Zodiac Boat
★ 4.8 · 408 reviews - Pico Mountain Climb: Your Path to Portugal’s Highest Point
★ 5.0 · 204 reviews
The day starts at Mountain House in Madalena, with safety first
Your meet-up is at the Mountain House in Madalena, where staff check you in and your guide is waiting. The morning starts with a 10-minute safety briefing and an equipment check. It sounds basic, but it matters on Pico because the ground is uneven and the slopes get serious.
Then you head to an early viewpoint stop for a short 5-minute break and photos. This is the part that helps you “get your bearings fast.” You’re waking up your legs for the climb, but you’re also mentally lining up the rest of the day so the long walk doesn’t feel random.
From there, the schedule moves into the heart of the route: multiple guided segments inside the Mount Pico Natural Reserve with small “reset moments” along the way. That rhythm is a big reason this feels like an organized adventure instead of a test of willpower.
Timing style you should expect
This is a 7-hour experience, and it includes both hiking time and the key stops. The structure is intentional: easier sections first, harder sections closer to the summit, then a descent that stays active with fewer pauses to keep your legs working.
Entering Mount Pico Natural Reserve: what the trail really asks of you
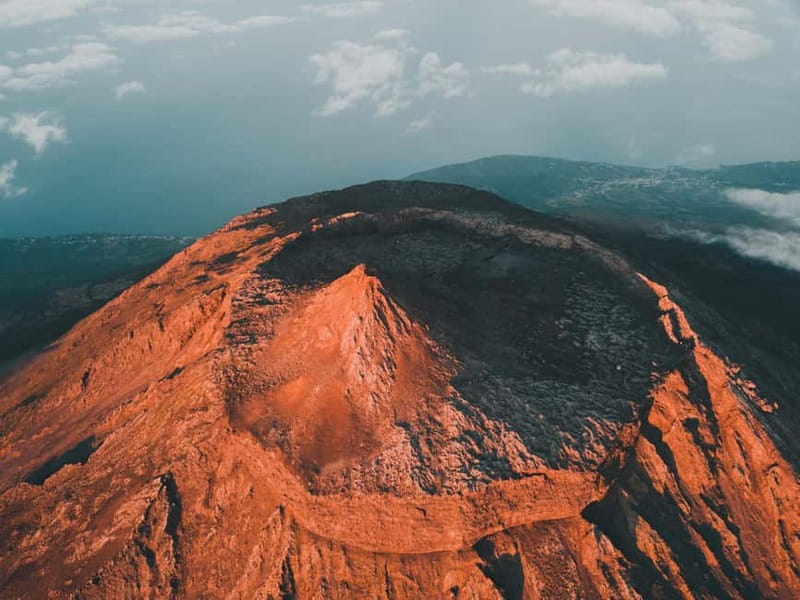
The main route runs along an 8 km trail, and it includes a steady sense of incline that grows more demanding as you go. You’ll start on sections that feel manageable, then the terrain gradually becomes harder the closer you get to the top.
On the way up, pay attention to the basics:
- watch for loose rocks
- manage uneven ground
- keep your pace steady, especially when the incline spikes
A lot of hikers underestimate how tiring steep volcanic rock can be, even when the distance is “only” 8 km. You’re working like a stair machine for big stretches, and your effort stacks up. The upside is that the route is planned so the hardest parts are later, when you’ve already warmed up and settled into your rhythm.
Another Pico day, differently spent:
- Pico Mountain: Climb the Highest Point of Portugal 2351m
★ 5.0 · 187 reviews - Mount Pico Guided Climb – Summit Portugal’s Highest Peak
★ 5.0 · 172 reviews - Whale and Dolphin Watching in Pico Island – Half Day
★ 4.5 · 157 reviews - Tours on Pico Island – Cultural and Natural Landscape
★ 4.8 · 115 reviews
Stop by stop, what each segment feels like
Here’s how the itinerary tends to “land” in your body.
Guided hike segment (about 1.5 hours). This is your foundation stretch. You’ll likely feel strong if you start slow and breathe steadily. Your guide will keep the group together and help you move efficiently over awkward patches.
Short secret stop (about 10 minutes). This is a quick photo and break moment. It’s not a full reset, more like a chance to shake out arms, adjust your footing, and get ready for the next push.
Guided hike segment (about 2 hours). This is where the difficulty starts creeping higher. You’ll probably notice more focus needed on each step. Loose rock means you can’t rely on autopilot.
Photo stop and picnic-style break (about 20 minutes). This is a good moment to fuel and regroup. Even if you brought snacks, this pause helps you use calories instead of just collecting fatigue.
Final guided hiking segments (roughly 1.5 hours at a time). The day moves toward crater time. Expect you’ll feel the incline and unevenness more clearly now, but you’ll also feel the satisfaction building because the route is actively guiding you toward the summit.
And then you turn for the descent, where things get sharper.
The crater moment: coffee, fumaroles, and panoramic views
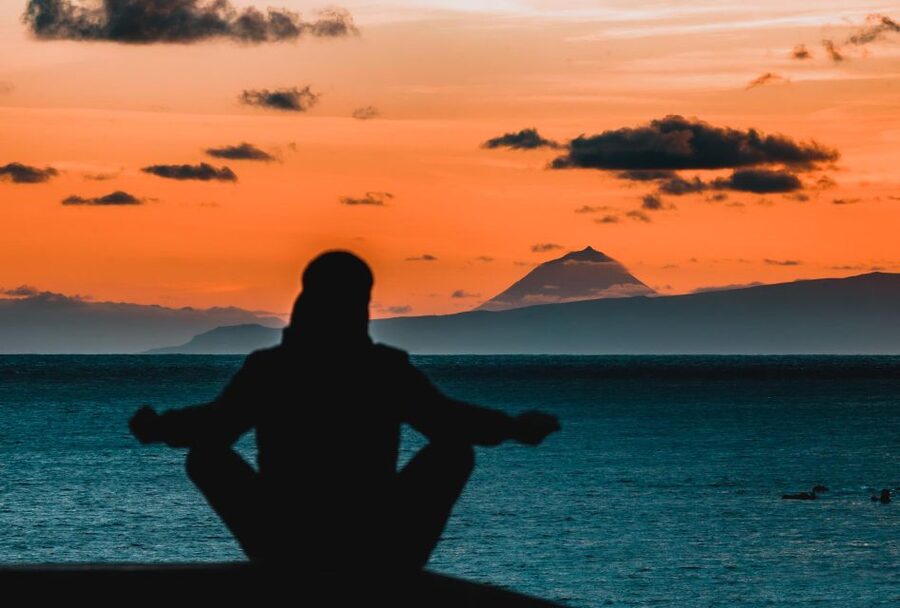
Near the top, you get time in the volcano crater area before moving up to the summit’s lava cone. This is one of the most “wow” parts of the experience because your mind shifts from hiking mode to landscape-at-your-feet mode, even though you’re still working your legs.
On the lava cone, there are permanent fumaroles, which means you’re reminded you’re standing on living volcanic activity. It’s not just pretty scenery. It’s geology you can feel in the atmosphere and see in the way the ground behaves.
Then comes the part that makes this tour feel human: free coffee. It’s a small inclusion, but it hits right. When you’re exerted and your focus has narrowed from effort, warm coffee helps you come back to yourself before the summit push and the return.
The view payoff can be huge
On clear days, you can see multiple islands from the top area. That’s the kind of detail that turns a climb into a memory. If the weather cooperates, it’s not just “a good view,” it’s a whole sense of place.
If the weather is rough, don’t panic. The value of going with a guide is that they keep you pointed the right way and help you adapt to visibility changes.
Descent on volcanic rock: where legs get tested (and why you should follow the guide)
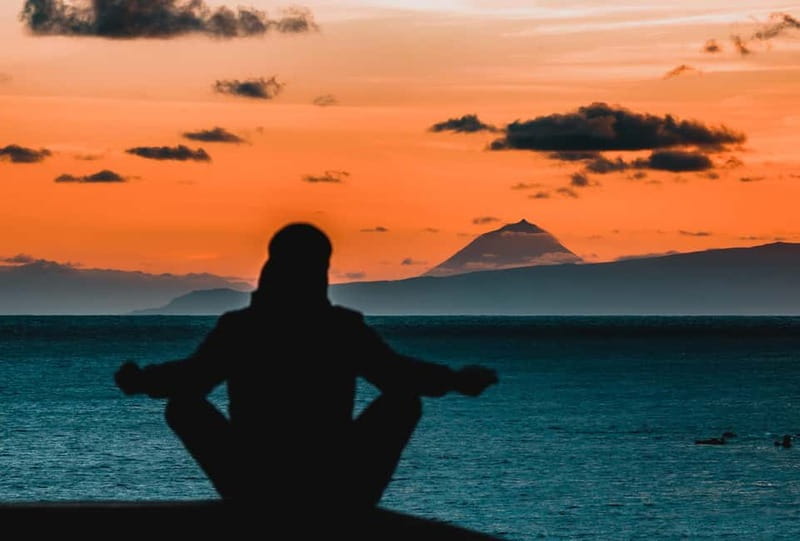
If the ascent is the climb, the descent is the lesson.
The route you come down is entirely built on volcanic rock, with an average slope of 30% mentioned for the hike route. In real terms, that means lots of steep, demanding steps where your balance needs constant attention. Reviews also make it clear that fog and low visibility can happen, which is exactly when a guided route earns its keep.
On the way down:
- you’ll likely need more frequent micro-adjustments
- loose rock can keep grabbing your attention
- your quads will start talking back
One of the best practical tips I can give you is to plan to slow down. The guides tend to keep the descent flowing with fewer stops to keep legs active, but you should still prioritize safe foot placement over speed.
If you’ve ever done a steep “stair master” treadmill, you get the idea. Now make it uneven, add volcanic rock, and keep your head up for views when possible.
Guides are the difference between a hike and a confident hike
This is a guided tour, and the guides are not just there to count heads. They actively shape how the day feels.
In the feedback I’ve seen, names like Isabel and Raisa show up again and again for two big reasons: they keep the group safe and they keep motivation high when the terrain turns tougher. People also mention that guides explain what you’re looking at, from geological context to local details, which makes the climb feel smarter, not just harder.
The practical benefits are clear:
- they help you navigate the trickier sections
- they set a pace that works for a mixed group
- they help you handle steep, uneven parts without rushing
And you’re not left empty-handed. Photos and videos are included, and guides help capture the moment while you focus on not eating rock dust.
What to bring, what to wear, and what to skip
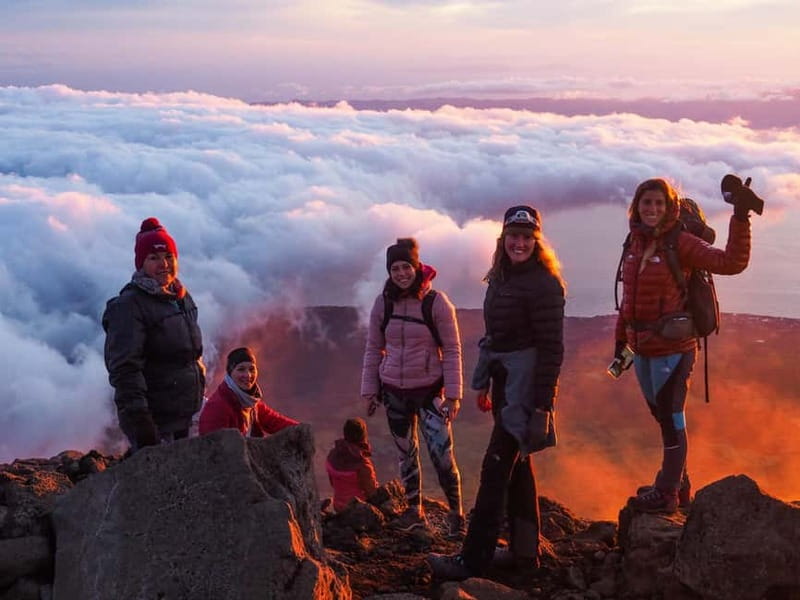
Because you’re on volcanic terrain at altitude, your clothing and footwear choices matter. You’ll be outside for about 7 hours, and the weather can change. Bring warm clothing, water, and snacks.
For shoes, you’ll want real grip. The tour specifically says:
- bring hiking shoes
- avoid open-toed shoes
- avoid high-heeled shoes
- avoid sports shoes
- pets are not allowed (assistance dogs allowed)
You’re also going to appreciate that walking sticks are provided. Use them. They reduce strain on your legs and help with stability on steep parts.
Also, plan for uneven footing. Even if you feel athletic, you’ll still be working balance muscles. That’s why this route is not a casual stroll.
Who should book this Pico climb, and who should think twice
This hike is not for everyone. It’s listed as not suitable for:
- children under 12
- pregnant women
- people with back problems
- people with mobility impairments
- wheelchair users
- people with low level of fitness
- people over 70
That’s not “scare language.” It’s a straightforward statement about the steep, uneven nature of the trail and the demands of the descent.
Who it’s best for:
- people who enjoy a real hike, not just a viewpoint walk
- hikers with decent balance and leg strength
- travelers who want a guide so you don’t worry about route-finding when the ground is uneven
And if you love photos, this is one of the better-value ways to get summit images. Included photo and video coverage takes the pressure off.
Cost and value: is $93 fair for Pico?
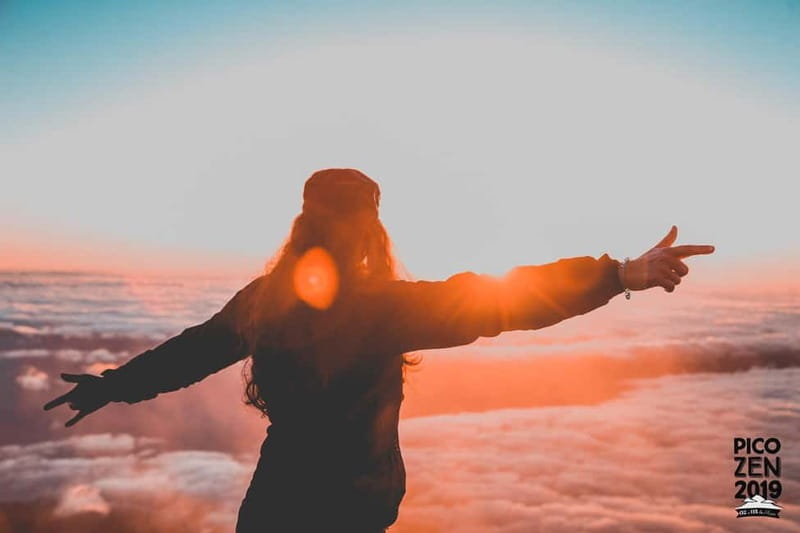
At $93 per person, the price can feel like a “why not just do it myself?” question. Here’s why this cost tends to make sense for the kind of day you’re getting.
You’re paying for:
- a professional, experienced guide
- safety briefing and ongoing navigation support
- walking sticks provided
- personal accident insurance
- photos and videos (so the guide is capturing the experience, not you wrestling with a phone)
You’re also paying for time. Seven hours on Pico is a full half-day at the very least, and you’re getting structured stops instead of hoping you’ll find the right moments to rest and refuel.
Could you hike Pico independently? Maybe. But on a steep, volcanic route with visibility risk, the guide’s role is not a luxury. It can be the difference between enjoying the top and feeling stressed on the way down.
Practical tips to make your day smoother
A few things I’d do if you’re booking this kind of summit climb:
- Start slower than you think you need. The trail gets harder near the top, so bank energy early.
- Use the walking sticks from the start, not only when you’re tired. They help more than you expect.
- Pack water and snacks, even though you’ll have breaks. You’ll feel better and move steadier.
- Plan for the descent to feel tougher than the ascent. Mentally setting that expectation helps you keep form.
- If weather looks foggy, trust the guide. Low visibility is when a guided route matters most.
Should you book the Pico Mountain Climb?
Book it if you want a guided climb to Portugal’s highest point at 2351 meters, with volcanic crater drama, included coffee, and summit photo support. It’s especially worth it if you value safety and pacing, or if you’re not trying to “prove toughness” alone on uneven volcanic rock.
Skip it if the steep descent worries you, if you have mobility or back issues, or if you’re looking for a light, low-effort outing. This is a real hike. The reward is real too.
If you match the fitness profile and you like guided adventures, this is one of those days in the Azores that turns into a story you keep telling.
Latest reviews from Pico
- Ponta Delgada: Greenhouse Hot Tube with Pineapple Tour★ 4.4 · 76 reviews
- Observation of whales and dolphins in island Pico★ 4.7 · 76 reviews
- Route DA Pico Island★ 5.0 · 101 reviews
- Mount Pico Night Climb – Reach the Summit for a Magical Sunrise★ 5.0 · 111 reviews
- Tours on Pico Island – Cultural and Natural Landscape★ 4.8 · 115 reviews
- Whale and Dolphin Watching in Pico Island – Half Day★ 4.5 · 157 reviews
- Mount Pico Guided Climb – Summit Portugal’s Highest Peak★ 5.0 · 172 reviews
- Pico Island: Azores Whale & Dolphin Watching on Zodiac Boat★ 4.8 · 408 reviews
Pico Tours, compared.
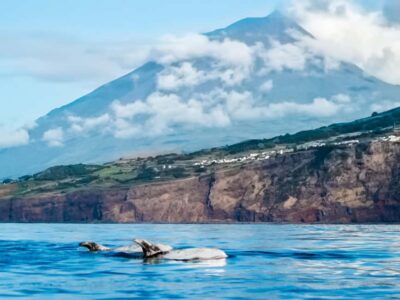
Pico Island: Whale Watching Experience from Lajes do Pico
Read our review →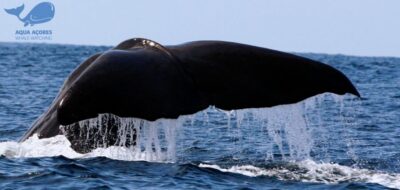
Pico Island: Azores Whale & Dolphin Watching on Zodiac Boat
Read our review →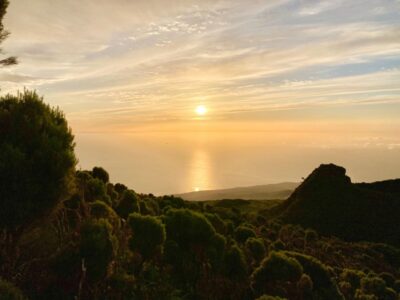
Pico Mountain Climb: Your Path to Portugal’s Highest Point
Read our review →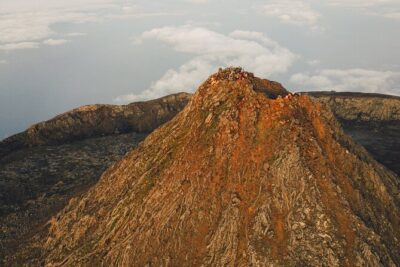
Pico Mountain: Climb the Highest Point of Portugal 2351m
Read our review →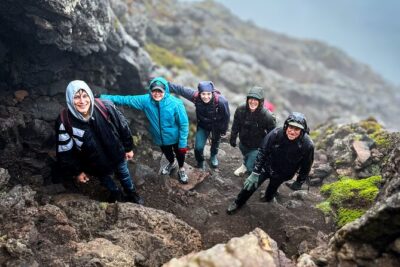
Mount Pico Guided Climb – Summit Portugal’s Highest Peak
Read our review →
Whale and Dolphin Watching in Pico Island – Half Day
Read our review →
Tours on Pico Island – Cultural and Natural Landscape
Read our review →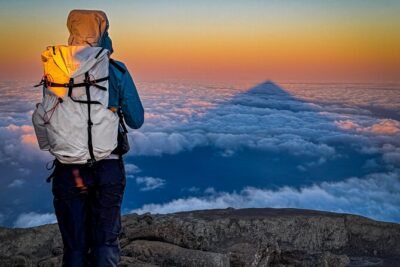
Mount Pico Night Climb – Reach the Summit for a Magical Sunrise
Read our review →Browse the lists this tour appears in